EA Vancouver heeft een nieuwe update voor EA Sports UFC 4 uitgebracht. Update 7.0 brengt zowel nieuwe content als een flinke lijst met aanpassingen met zich mee en is nu te downloaden.
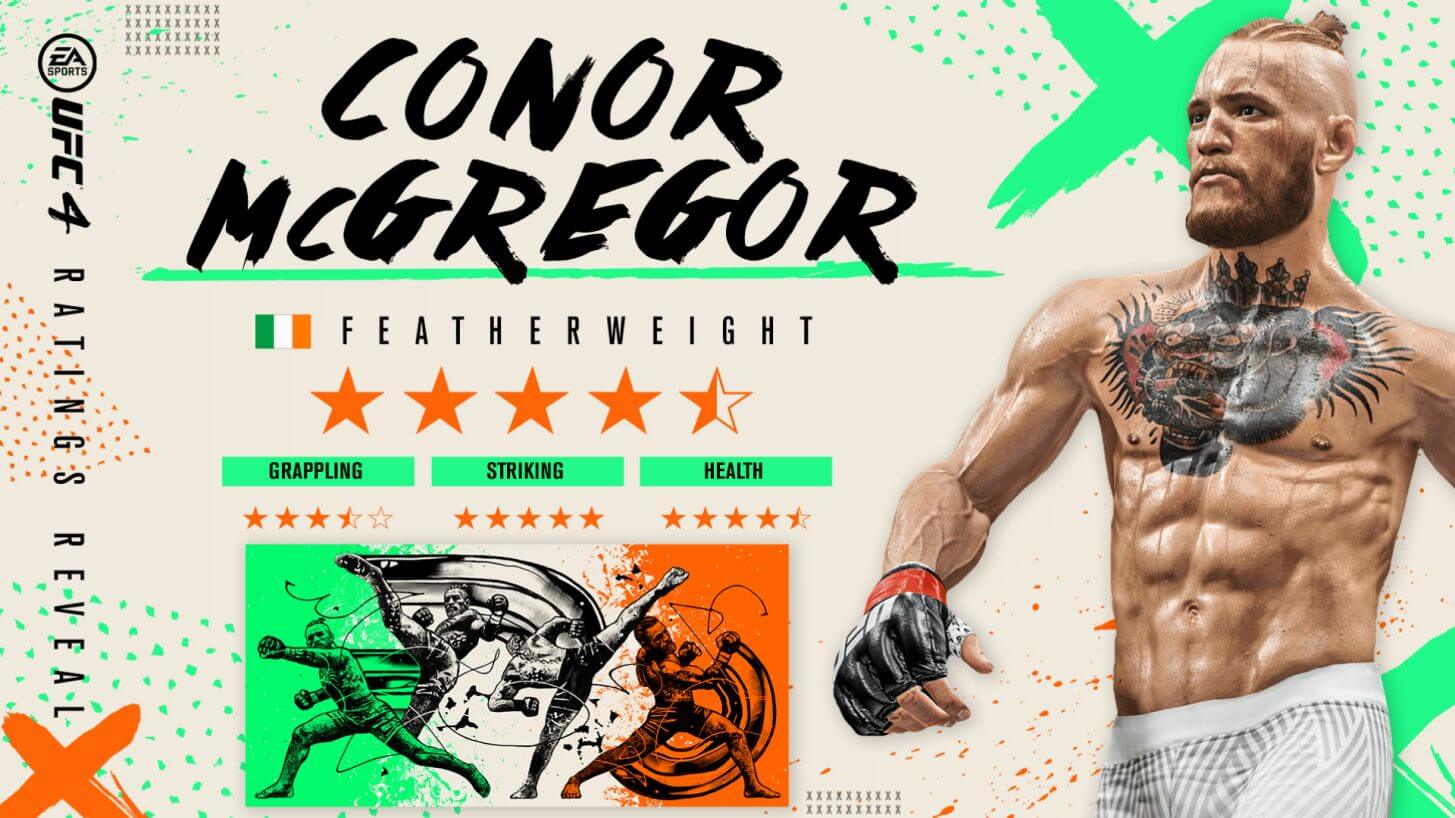
Nieuwe content is er in de vorm van twee nieuwe vechters die nu beschikbaar zijn in EA Sports UFC 4. Ter ere van het UFC 257 event van dit weekend is er een nieuw Legacy model van Conor McGregor, dat geheel in stijl van UFC 178 is. Daarnaast maakt Jiri Prochazka nu ook onderdeel uit van het roster met de komst van update 7.0.
De update heeft verder diverse gameplay-aanpassingen doorgevoerd, evenals een flink aantal aanpassingen aan movesets van verschillende vechters. Alle details kun je in de onderstaande changelog nalezen.
Major Updates
- Added 2 new fighters:
- Conor McGregor from UFC 178 added to Featherweight
- Jiri Prochazka to Light Heavyweight
- Added Jessica Andrade to Flyweight and Bantamweight divisions
- Unlocked Andre Bishop and Isaac Frost in Heavyweight
- Added a venue select to Online Quick Fight to prioritize venue preference during matchmaking
- Fixed Event & Tournament Mode CAF scaling issues and mismatched Ratings & AI
Gameplay Updates
- Added calf kicks to all fighters.
- Added a new set of standup blocking animations and polished the old set.
- Fixed an issue with attribute information displayed for a few archetypes.
- Increased penalty for the attacker’s rapid movement in limb submissions.
- Fixed an issue to allow Body Side Kicks to track walking to one side (the outside).
- Tuned stamina recovery to be slower when stamina is high.
- Tuned strike stamina costs between weight divisions.
- Reduced the cost for heavier divisions and increased it for the lighter ones, with very little change to the divisions in the middle, such as lightweight. Even in the heaviest and lightest divisions, this adjustment was small.
- Decreased permanent body damage by 10%.
- Decreased block breakdown by 15%.
- Decreased head roundhouse bleedthrough from 20% to 10%.
- Single and low single bails now require a stamina advantage of 30%.
- Attempting it without such an advantage will result in the drive ending in favor of the defender.
- Fixed an issue where submissions were finishing before the progress bar had completed and when chains were activated at certain timing.
- Reduced damage of clinch rear knees to head and body from collartie, Muay Thai, and single under by 20%.
- This still leaves the head knees damage slightly higher than the elbows. The lead knees, which are slower, retained their previous damage.
- Reduced Bleedthrough of clinch knees.
- Since evading them is not an option, blocking the correct height is the best defense available so we made blocking them a bit better. They can still deal significant damage through the block if the block meter is low.
- Slowed down the head peel fake from dominant back side
- This is the entry for the bulldog choke and the transition to back sitting added in the previous patch. The starting animation was too fast, meaning it could be faked too quickly. We slowed the starting animation down considerably, but did not change the denial windows so only the fakes should be affected.
- Refined the starting animation of the transition from back side to full guard
- The animation was previously too hard to read because the shoulders took long to start to shift. Now the shoulders should start to shift right away, making reactive denials against this move more viable even though the denial window isn’t changing.
- Increased denial window for the hip toss from collartie and muay thai clinch
- Please note that this increase will affect the time the defender has to scramble. The hardest part for the defender will probably be to not be pressing high block by the time the scramble window starts, as that prevents the scramble.
- Increased the permanent stamina cost of ground transition by 50%.
- Reduced recovery of the resistance to head health events between rounds.
- Greatly decreased the stamina cost of the wizzer escape.
- Attacker can now cancel their submission pressing R1 and L1 together, (LB+RB on Xbox)
- Increased the effect of submission defense rating
- Submission strength tuning
- Crucifix strike damage has been reduced by 25%
- Reduced number of leg health events before TKO
- Decreased the effect of the cardio attribute on starting stamina
- Made plodding footwork stamina threshold more dynamic, based on footwork and leg health
- Increased the clinch back takes stamina cost
- Made special backwards leg lunge mitigate leg damage, instead of increasing it.
- Made it so the defender can instantly escape from the back clinch after the osoto-gari scramble, unless the attacker has a 30% stamina advantage.
- Restricted the use of the muscle modifier on the ground to the same rules we had in UFC 3
- It is only available for get ups and the sitout sweeps from sprawl.
- Tuned custom fighter AI tendencies.
- Made reversals and arm traps wipe grapple advantage
- Previously, reversals and arm traps would not clear the grapple advantage upon reaching the new position. Previously, the dominant fighter could have a lot of GA in his favor and would maintain it in the new position after being reversed, such as from an arm trap from side saddle to side control. Now, the reversals and arm traps will clear the GA and grant a small amount (of a successful denial) to the fighter who performed the reversal.
- Lowered frequency with which the AI intercepts takedowns with strikes
- Fixed bug in AI takedown feints reducing actual takedown frequency
- Added ability for AI to execute imanari rolls
Moveset Updates
Alex Perez
- Added Lead Switch Kick Body Level 2
- Lead and Back Roundhouse Body Level 2 to Level 3
- Updated AI to use Cerrones
Anthony Pettis
- Added Lead Axe Level 3
- Back Uppercut Level 2 to Level 3
- Back Hook Level 2 to Level 3
- Back Spin Heel Kick 2 to Level 4
Brandon Moreno
- Back Uppercut Level 2 to Level 3
- Boxing Combos Level 3 to Level 4
- Jab Level 2 to Level 3
- Cross Level 2 to Level 3
- Jab Body Level 1 to Level 2
- Lead Hook Level 3 to Level 4
- Lead Hook Body Level 2 to Level 3
- Back Hook Level 2 to Level 3
- Back Uppercut Level 2 to Level 3
- Back Roundhouse Head Level 2 to Level 3
- Lead Overhand Level 2 to Level 3
- Back Overhand Level 2 to Level 4
Bruce Lee
- Added Lead Question Mark Kick Level 3
- Added Back Question Mark Kick Level 3
- Added Lead Front Kick Body Level 2
- Added Back Spinning Heel Kick Level 3
Charles Oliveira
- Added Back Superman Elbow Level 1
- Added Lead 6 to 12 Elbow Level 3
- Added Power Single Leg Level 2
- Added Power Double Leg Level 2
- Added Back Spin Heel Kick Leg Level 2
- Added Lead Tornado Kick Level 2
- Added Back Spin Side Kick to Head Level 1
- BJJ Level 4 to Level 5
- Wrestling Level 1 to Level 2
- Leg Locks Level 1 to Level 2
- Boxing Combos Level 3 to Level 4
- Jab Level 2 to Level 3
- Cross Level 3 to Level 4
- Lead Side Kick to Leg Level 1 to Level 2
- Lead Side Kick Body Level 1 to Level 2
- Lead Side Kick Head Level 1 to Level 2
- Lead Roundhouse Head Level 1 to Level 2
- Back Roundhouse Head Level 2 to Level 3
- Lead Roundhouse Body Level 1 to Level 2
- Back Roundhouse Body Level 2 to Level 3
- Back Front Kick Body Level 2 to Level 3
- Wrestling Takedowns Level 1 to Level 2
- Back Single Leg Level 1 to Level 2
- Back Double Leg Level 1 to Level 3
- Back Leg Kick Level 2 to Level 3
Chris Weidman
- Guillotine Submissions Level 2 to Level 4
Colby Covington
- Wrestling Level 4 to Level 5
Cory Sandhagen
- Added Back Spinning Backfist Level 3
- Added Lead Side Kick Head Level 2
- Added Back Ducking Roundhouse Level 2
- Lead Side Kick to Leg Level 1 to Level 2
- Lead Roundhouse Head Level 2 to Level 3
- Back Roundhouse Head Level 2 to Level 3
Dan Henderson
- Added Back Spinning Backfist Level 2
Deiveson Figueredo
- Added Back Front Kick Head Level 2
- Added Lead Front Kick Body Level 2
- Added Back Superman Elbow Level 2
- Added Lead Flying Double Knee Level 2
- Boxing Combos Level 3 to Level 4
- Wrestling Get Ups Level 1 to Level 3
- Jab Level 2 to Level 3
- Lead Uppercut Body Level 2 to Level 3
- Back Hook Body Level 3 to Level 4
- Lead Roundhouse Head Level 1 to Level 2
- Back Roundhouse Head Level 2 to Level 3
- Lead Roundhouse Body Level 1 to Level 3
- Back Roundhouse Body Level 2 to Level 4
- Lead Leg Kick Level 1 to Level 2
- Back Leg Kick Level 2 to Level 3
Jared Connonier
- Lead Leg Kick Level 2 to Level 3
- Back Leg Kick Level 3 to Level 4
Jairzinho Rozenstruik
- Added Level 2 Lead and Back Elbows
Jon Jones
- Lead Flying Knee Level 2 to Level 3
Jose Aldo
- Boxing Combos Level 3 to Level 4
- Straight Body Level 3 to Level 4
- Back Hook Body Level 3 to Level 4
Justin Gaethje
- Back Ducking Roundhouse Level 3
Kevin Gastelum
- Lead Hook Level 3 to Level 4
Louis Smolka
- Back Leg Kick Level 2 to Level 3
- Back Roundhouse Body Level 2 to Level 4
Max Holloway
- Back Roundhouse Head Level 2 to Level 3
- Lead Roundhouse Body Level 2 to Level 3
Stephen Thompson
- Added Level 2 Lead and Back Elbows
- Boxing Combos Level 2 to Level 3
Tecia Torres
- Added Back Spinning Backfist Level 3
- Lead and Back Hooks Level 2 to Level 3
Tim Means
- Jab Level 2 to Level 3
TJ Dillashaw
- Added Level 2 Lead and Back Elbows
- Guillotine Submissions Level 2 to Level 3
Tony Ferguson
- Added Lead Side Kick Body Level 2
Uriah Hall
- Added Heel Hook from Stacked Guard Level 1
- Added Leg Chokes Level 1
- Added Back Oblique Kick to Leg Level 2
- Added Back Ducking Roundhouse Level 2
- Added Rolling Thunder Level 2
- Added Lead Switch Kick Body Level 2
- Added Lead Flying Knee Level 3
- Back Roundhouse Head Level 2 to Level 3
- Lead Roundhouse Body Level 2 to Level 3
Yair Rodriguez
- Added Lead Hook Kick Level 2
- Added Back Question Mark Kick Level 2
- Added Lead Switch Kick Body Level 2
Zabit Magomedsharipov
- Lead Roundhouse Head Level 2 to Level 3
- Back Roundhouse Head Level 2 to Level 3
- Lead Roundhouse Body Level 2 to Level 3
- Back Roundhouse Body Level 2 to Level 3


Proefversie is echt heel tof en een grote vooruitgang op ufc 3. Toch koop ik het spel niet omdat er geen next gen versie ervan uit is. Wellicht ufc 5
@Anoniem-124:
Grote vooruitgang. Lmao. Jij hebt wellicht nooit veel ufc gespeeld…